Looking to keep your countertop ice maker in top shape? Look no further. In this article, we’ll show you how to clean a countertop ice maker like a pro.
Regular cleaning is crucial to ensure the quality of your ice and prevent harmful bacteria from building up. Following our step-by-step guide, you’ll have a sparkling clean ice maker in no time.
So, let’s dive in and discover the secrets to maintaining a pristine countertop ice maker you can be proud of.
Understanding the Importance of Cleaning a Countertop Ice Maker
You should understand the importance of regularly cleaning your countertop ice maker to maintain its performance and ensure clean and safe ice.
Cleaning your ice maker is crucial for maintaining its efficiency and preventing the buildup of bacteria and scale. Regular cleaning, typically every 3 to 6 months, reduces the risk of cloudy ice, strange tastes, and the need for costly repairs.
It is important to consult the user manual for specific cleaning recommendations. Always follow the manufacturer’s recommended cleaning methods and avoid using any unnecessary processes or chemicals.
Gathering Necessary Supplies for the Cleaning Process
Gather all the necessary supplies for the cleaning process before starting. You will need warm water, vinegar, a soft-bristled toothbrush or brush, a sponge, a microfiber cloth, and dish soap to clean your portable ice maker. These supplies are essential for cleaning your appliance and ensuring a thorough job.
The warm water and vinegar mixture will help remove any mineral deposits or buildup inside the ice maker, while the toothbrush or brush can be used to scrub away any stubborn stains or residue. The sponge and microfiber cloth will be useful for wiping down the exterior of the ice maker.
Make sure to have a clean bowl or container to mix your cleaning solution in and a clean cloth for drying the ice maker after cleaning.
Step-by-Step Guide to Cleaning Your Ice Maker
When cleaning your countertop ice maker, there are several key steps.
First, disconnect the power source to ensure safety and prevent unintended operation during cleaning.
Next, you should remove any removable parts, such as the ice bin, basket, tray, and scoop, to allow for a thorough cleaning.
After that, clean these parts separately using warm, soapy water and scrubbing them with a cloth or soft-bristled brush.
Disconnecting Power Source
To ensure your safety and avoid unintended operation during cleaning, it is crucial to disconnect the power source before starting the cleaning process.
Unplugging the ice maker machine prevents any risk of electric shock and allows you to clean the interior of the ice maker without any interference.
Once the machine, you can use a cleaner, cleaning solution, clean water, and a soft cloth or brush.
This will ensure that you remove any dirt or residue that may have accumulated inside the ice maker, resulting in clean ice that is free from contaminants.
Removing Removable Parts
After disconnecting the power source, you can easily remove the removable parts of your ice maker for a thorough cleaning. This step is crucial to ensure a deep clean and maintain the cleanliness of your machine.
Start by removing the ice bin, basket, tray, and scoop. These removable parts allow for a more effective cleaning process. Clean each part separately using warm, soapy water and a cloth or brush with soft bristles. Scrub away any residue and rinse thoroughly.
You can also use a vinegar solution by mixing water and white vinegar for a deeper clean. Spray the solution liberally on the interior of the ice maker and scrub with a soft cloth or brush. Rinse the machine thoroughly to remove any vinegar residue.
Cleaning Removable Parts
Now that you have successfully removed the removable parts from your countertop ice maker, it’s time to clean them thoroughly. Cleaning these parts is crucial for maintaining the cleanliness and performance of your ice maker.
Start by filling a sink or basin with warm, soapy water. You can use a mild dish soap for this. Place the removable parts, such as the ice bin, basket, ice tray, and ice scoop, into the soapy water. Use a sponge or a soft-bristled brush to scrub any dirt or residue. Pay special attention to hard-to-reach areas, ensuring all surfaces are clean.
Once thoroughly cleaned, rinse the removable parts under running water to remove any soap residue. Allow them to air dry completely before reassembling them back into the ice maker.
Preparing Cleaning Solution
Mix equal water and vinegar to create a cleaning solution for your removable ice maker parts. Preparing the cleaning solution is essential in maintaining a clean countertop ice maker.
You can effectively clean your portable appliance using white vinegar and water in just a few easy steps. White vinegar is a natural and safe cleaning agent that helps remove mineral deposits, bacteria, and other impurities from your ice maker.
To start, combine equal parts water and white vinegar in a spray bottle or container. Ensure that the water used is filtered or distilled for optimal cleaning results. This homemade cleaning solution is not only effective but also cost-efficient.
Cleaning Interior
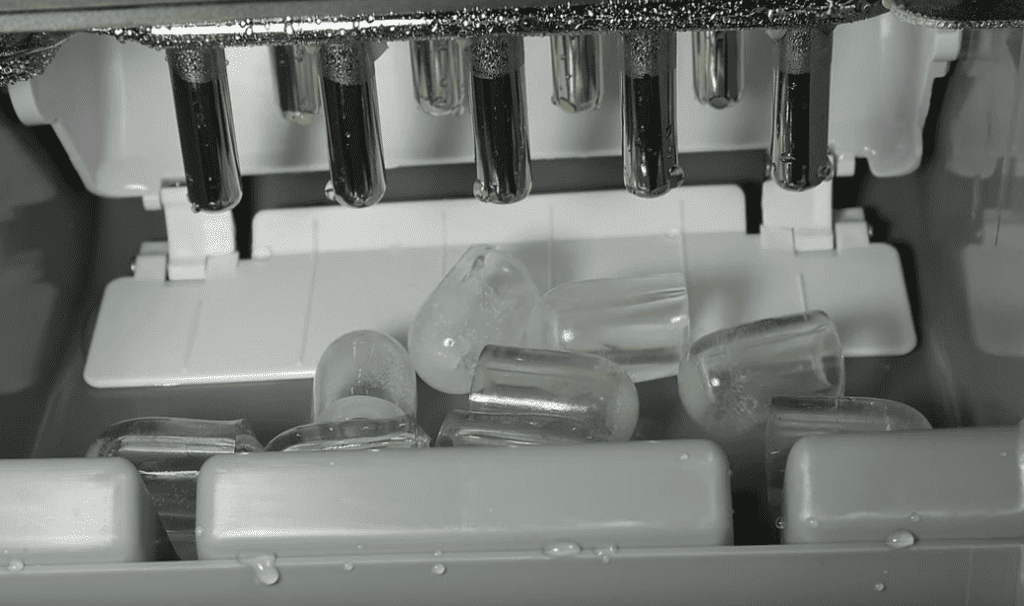
To ensure the interior of your ice maker is thoroughly cleaned, focus on areas with mineral buildup. Spray the vinegar solution liberally and let it sit before scrubbing with a soft cloth or brush.
This is a highly effective way to clean the inside of the ice maker and keep it clean longer. Mineral buildup can affect the taste and quality of the ice, so it’s important to address it regularly.
Using the vinegar solution and scrubbing away the buildup will ensure that your countertop ice maker stays in top shape and produces clean ice.
Remember to clean the removable parts, run a cleaning cycle, and rinse the machine thoroughly to remove any vinegar residue.
Running Cleaning Cycle
You should consider running a cleaning cycle to ensure that your ice maker is thoroughly sanitized and free from any residue or buildup. Cleaning your ice maker regularly is an essential part of its maintenance to maintain its performance and quality.
Gather your cleaning supplies, including a vinegar cleaning solution and warm water. Disconnect the power source and remove any removable parts, such as the ice bin and tray. Clean these parts separately using warm, soapy water and scrub with a soft cloth or brush.
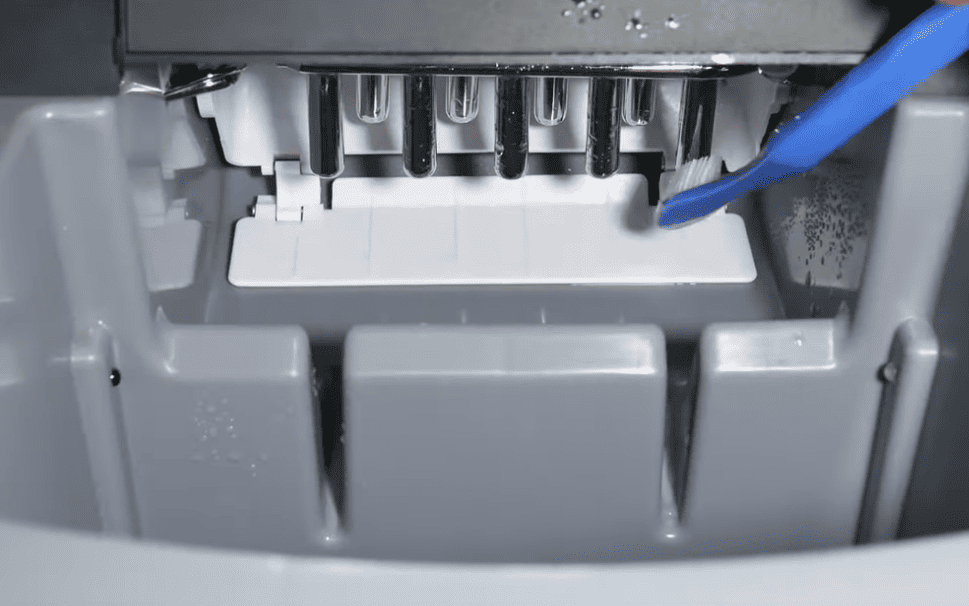
Next, prepare the vinegar cleaning solution by mixing water and white vinegar. Spray the solution on the machine’s interior, focusing on areas with mineral buildup. Scrub with a soft cloth or brush, and use a toothbrush for hard-to-reach areas.
Afterward, run a cleaning cycle, filling the water reservoir with the vinegar solution if available. Discard the vinegar ice cubes produced during this cycle. Thoroughly rinse the machine by draining the vinegar solution through the drain plug and rinsing the reservoir with clean water. Run another cycle with clean water and discard the ice produced.
Finally, clean the exterior of your ice maker using a mild detergent mixed with warm water and a soft cloth. Rinse the exterior with clean water and wipe dry.
Running a cleaning cycle and following these steps will ensure that your ice maker is sanitized and free from any residue or buildup, allowing you to enjoy clean and fresh ice.
Rinsing and Drying
After thoroughly cleaning the interior and exterior of your ice maker, it is important to ensure that it is rinsed and dried completely to prevent the growth of mold and bacteria.
Here are the steps to properly rinse and dry your ice maker:
- Discard the ice: Remove any remaining ice from the ice maker and dispose of it.
- Unplug the ice maker: Before rinsing and drying, unplug the ice maker to ensure safety.
- Rinse and dry: Rinse the interior and exterior of the ice maker with clean water to remove any remaining cleaning solution or residue. Use a clean cloth or towel to dry the ice maker thoroughly.
By following these steps, you can ensure that your ice maker is clean and ready to produce fresh and safe ice for your enjoyment.
Always regularly clean and maintain your ice maker to maintain its performance and prevent potential health risks.
Why do I need to clean my portable ice maker?
You must clean your portable ice maker to ensure it functions properly and lasts longer.
Regular cleaning prevents hard water buildup and ensures the ice quality produced.
How often must I clean my countertop ice maker?
A regular cleaning routine is essential for the longevity of your ice maker machine.
The frequency may vary depending on usage, but generally, it should be cleaned every 3-6 months.
Deep Cleaning Strategies for Persistent Mold Issues
If mold is still visible or can be smelled, repeat the deep cleaning process to tackle persistent mold issues effectively. Mold can be a common problem in countertop ice makers, especially in areas with high humidity or if the machine is not cleaned regularly.
You can use a few strategies to clean your ice maker deep and eliminate persistent mold issues. Firstly, disconnect the power source before cleaning to ensure safety.
Then, remove any removable parts, such as the ice bin, ice basket, ice tray, and ice scoop, and clean them separately with warm, soapy water.
Prepare a cleaning solution using equal parts water and white vinegar, and spray it liberally on the interior of the ice maker, focusing on areas with mold buildup. Let the solution sit for a few minutes to dissolve the mold, then scrub with a soft cloth or brush. For hard-to-reach areas, you can use a toothbrush.
After cleaning the interior, run a cleaning cycle, if available, by filling the water reservoir with the vinegar-water mixture and following the manufacturer’s instructions. This will further clean and sanitize the internal workings of the machine.
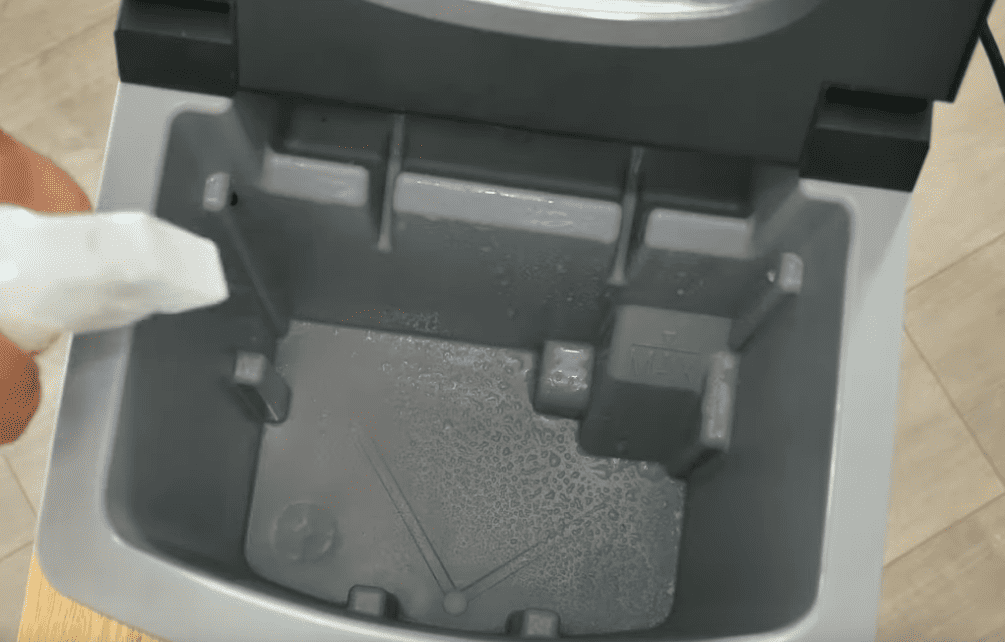
Thoroughly rinse the machine by draining the vinegar solution through the drain plug and rinsing the reservoir with clean water. Make sure to run another cycle with clean water to ensure all vinegar residue is removed.
Finally, clean the exterior of the ice maker using a mild detergent mixed with warm water and a soft cloth. Rinse the exterior with clean water and wipe dry.
Can I use lemon juice to clean an ice machine?
Yes, lemon juice is a natural cleaner that effectively cleans an ice maker. It helps in removing hard water stains and deodorizing the machine.
Essential Maintenance Tips for Keeping Your Ice Machine Clean
To maintain a clean ice maker, regularly performing maintenance tasks is essential.
By keeping your ice maker clean, you ensure the longevity of your machine and the quality of your ice.
Clean the ice bucket and removable parts
Regularly remove and clean the ice bucket with warm, soapy water. Scrub any residue or build-up with a soft-bristled brush. Rinse thoroughly and allow to air dry before placing it back in the ice maker.
Use your ice maker regularly
Using your ice maker frequently helps prevent the build-up of bacteria and keeps the machine running smoothly. If you don’t use your ice maker often, consider running a clean cycle with vinegar-water solution every few months to rid your ice maker of any potential issues.
Follow the manufacturer’s cleaning recommendations
Consult your user manual for specific cleaning instructions. Different models may have different cleaning requirements, so following the manufacturer’s guidelines is important to ensure proper cleaning and maintenance.
Determining the Correct Cleaning Frequency for Your Ice Maker
When determining how often to clean your ice maker, consider factors such as frequency of use and storage conditions. Cleaning frequency for countertop ice makers can vary depending on these factors.
If you use your ice maker frequently, cleaning it every 3 to 6 months is recommended. However, if you notice any build-up, cloudy ice, or a strange taste, it is important to clean it immediately.
Regular cleaning reduces scale build-up and bacteria, ensures good-quality ice, and prevents the need for repairs. Consult the user manual for specific cleaning recommendations.
3 Advantages of Using Homemade Cleaning Solutions
Making your cleaning solution at home is cost-effective and environmentally friendly.
Cost-effective
Homemade cleaning solutions, such as a mixture of distilled white vinegar and water, are much cheaper than store-bought cleaning products. You can easily make the solution using ingredients at home, saving you money in the long run.
Effective cleaning
Homemade solutions, particularly those containing vinegar, are highly effective in removing mineral deposits and residue from your ice maker. They help ensure thorough cleaning and prevent vinegar residue from affecting the taste of your ice.
Environmentally friendly
Using homemade cleaning solutions reduces the need for harsh chemicals that can harm the environment. Vinegar is a natural, eco-friendly, safe alternative that does not release harmful toxins.
What’s the difference between commercial and countertop ice maker cleaning?
Commercial ice makers often have a larger capacity and may require more thorough cleaning. However, the basic cleaning steps remain the same – turn off, empty, clean, rinse, and dry.
The Role of Regular Maintenance in Extending Ice Maker’s Lifespan
Regular maintenance plays a crucial role in prolonging the lifespan of your ice maker. Regularly cleaning and maintaining your clean countertop ice maker ensures it produces high-quality ice and avoids potential issues.
Regular maintenance extends the ice maker’s lifespan and improves efficiency and performance.
To keep your ice maker in top shape, clean it every 3 to 6 months or immediately if you notice any build-up, cloudy ice, or strange taste.
Follow the manufacturer’s recommended cleaning methods and use the equipment and materials, such as dish soap, vinegar, and sponges.
Safety Measures: Disconnecting Power Source Before Cleaning
Disconnecting the power source is crucial for safety when cleaning your ice maker. This ensures you are protected from electric shock and prevents unintended operation during the cleaning process.
To properly clean a countertop ice maker, it is essential to follow safety measures, including disconnecting the power source.
Running a Fresh Water Cycle: The Final Step in Cleaning
To complete the cleaning process, running a freshwater cycle in your countertop ice maker is important. This final step ensures that any remaining cleaning solution or residue is thoroughly rinsed out of the machine, leaving it clean and ready for use.
Running a freshwater cycle is easy. Fill the reservoir with fresh water and run one or two ice-making cycles. Discard the ice produced during these cycles to ensure that any remaining cleaning solution or debris is removed from the machine.
Does a water filter help keep my ice maker clean longer?
A water filter can reduce the amount of hard water minerals entering the ice maker, reducing buildup and keeping your ice maker clean longer.
Conclusion
Regular cleaning is essential to maintain the quality and hygiene of your countertop ice maker. Following the step-by-step guide, you can ensure your ice maker remains free from bacteria and mold.